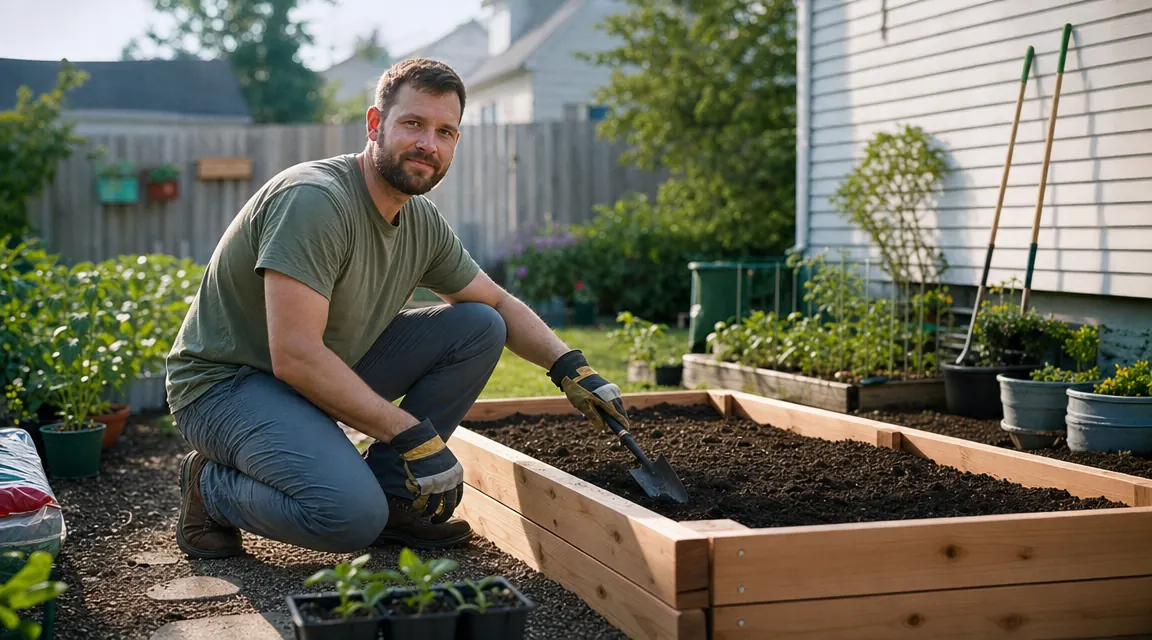
A lot of beginning raised-bed gardeners think they need a cordless tiller or some kind of power equipment to get started. They do not. I have planted three 4x8 beds and one 4x12 bed in the past two years using nothing but hand tools, and the results were better than anything I grew in ground-level rows with a full-sized tiller. The soil in a raised bed is contained, workable, and forgiving. The right hand tools are all you need to prep it, plant it, and maintain it through the whole season.
What you do need is a set of tools that holds up to repeated use in dense soil mix without bending or rusting out by August. Cheap trowels flex when they hit compacted compost. Cheap cultivators lose their tines. I have gone through four bargain sets over the years. The one I keep reaching for now is the Grenebo 9-piece heavy duty set. The stainless steel construction and comfortable grip handles are the reason it is still in my shed three seasons in. This guide walks through the full process, tool by tool, step by step.
If your trowel bent last spring, it will bend again this one
The Grenebo 9-piece set is what I use for every task in this guide. Stainless steel blades, ergonomic handles, includes the trowel, cultivator, transplanter, weeder, and more. Check the current price on Amazon before you start.
Amazon Check Today's Price on Amazon →Step 1: Check the Bed Frame and Level Your Soil Surface
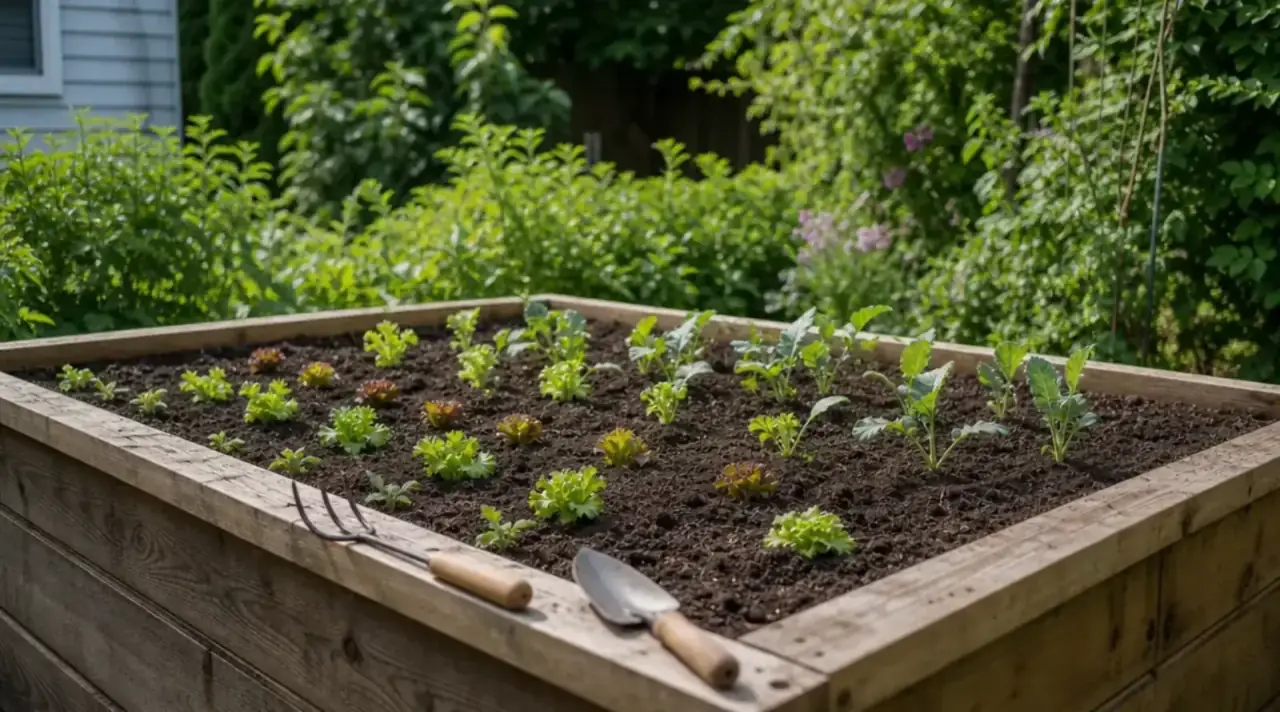
Before any tool touches soil, walk the perimeter of your raised bed. Check that the frame boards are solid and square. A frame that bows outward in one corner will cause uneven soil depth and drainage problems later. If you are starting with a new bed, get it level side to side as well as front to back. A 4-foot carpenter's level works fine. This takes five minutes and saves you grief throughout the season.
Once the frame is solid, look at your soil surface. If you filled the bed in a previous season, the top layer will have settled and compacted over winter. You are not ready to plant into that. You need to loosen and recharge it first, which is what the next two steps are for.
If this is a brand-new bed, fill it with a mix that is at least one-third compost. A standard starting blend is roughly one part topsoil, one part compost, and one part aged wood chips or coco coir for drainage. Fill to within two inches of the top of the frame boards. That gap keeps soil from splashing out during watering.
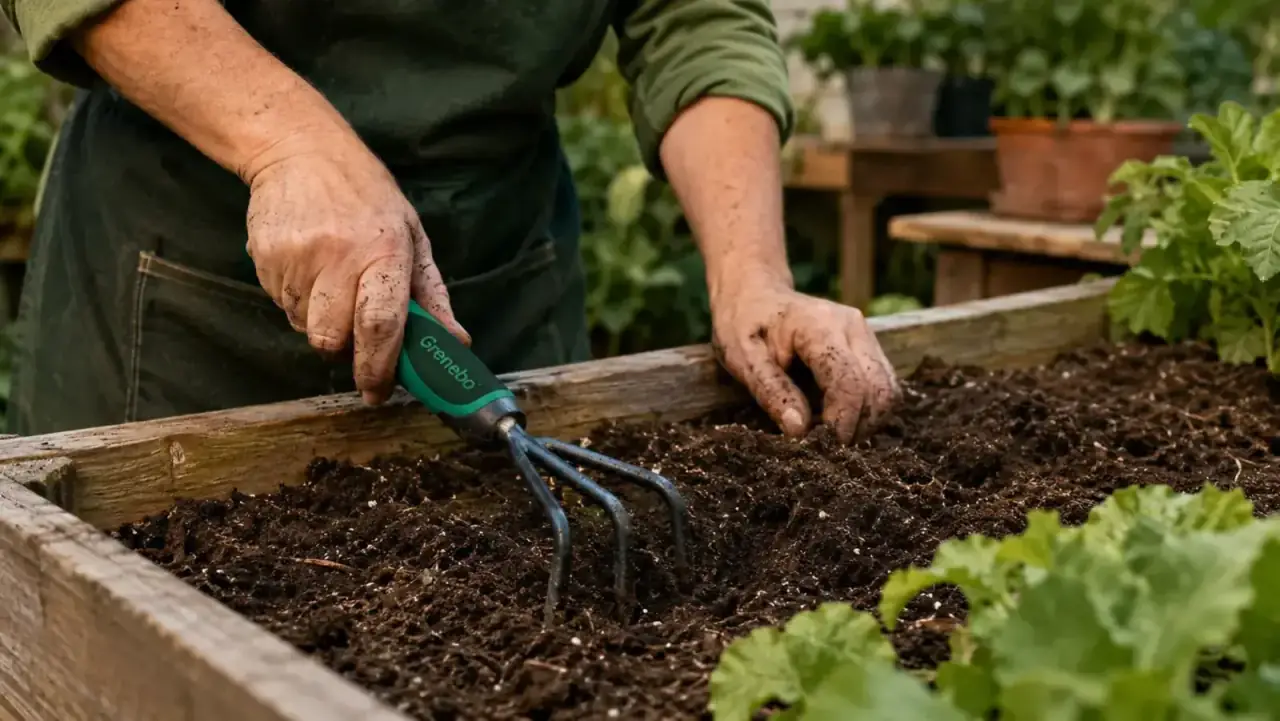
Step 2: Break Up Compaction With a Hand Cultivator
This is where most of the physical work happens. A three-tine or five-tine hand cultivator is your main tool here. Work it into the top six to eight inches of soil using a pulling motion, not a stabbing one. You are trying to break up clumps and open air pockets, not rearrange the bottom of the bed.
Cheap cultivators bend at the tine base when they hit compacted compost that has dried out. This is the most common tool failure I have seen in raised beds. The Grenebo cultivator uses a one-piece stainless head, so the tines stay in line even when you apply real force. Work across the bed in parallel rows, overlapping each pass by a couple inches. When you finish, the surface should feel loose and give easily underfoot if you press a finger down.
After cultivating, add any amendments you plan to use this season. Granular fertilizer, extra compost, or lime should go on now and get worked in with a second pass of the cultivator. This is also when I add a slow-release vegetable fertilizer if I am doing a heavy-feeding crop like tomatoes or squash.
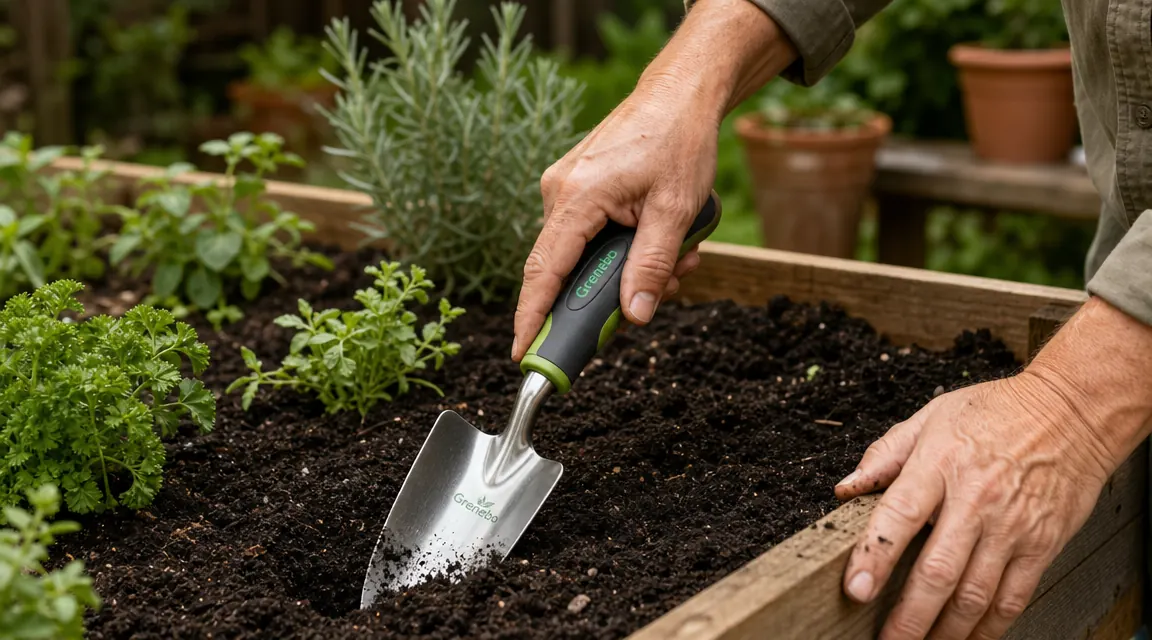
Step 3: Rake Smooth With a Hand Trowel and Make Planting Rows
Once the bed is cultivated and amended, you need a flat, even surface before you start placing plants or seeds. Use your trowel held at a low angle to drag across the surface and push down any clumps. The goal is not a perfectly smooth billiard table. It is a bed where you can actually tell where you planted things and where each row is.
For rows, I use the edge of the trowel to drag a shallow line across the bed. A standard trowel blade is about an inch wide and makes a clean furrow when drawn at a consistent depth. For direct-seeded crops like carrots, radishes, or lettuce, this furrow is where the seeds go. Depth depends on the seed packet, but most vegetable seeds want to go in at one to two times their diameter.
For transplants, you are not making rows yet. You are making individual holes at the spacing your plant labels specify. I do this in the next step with the transplanter tool.
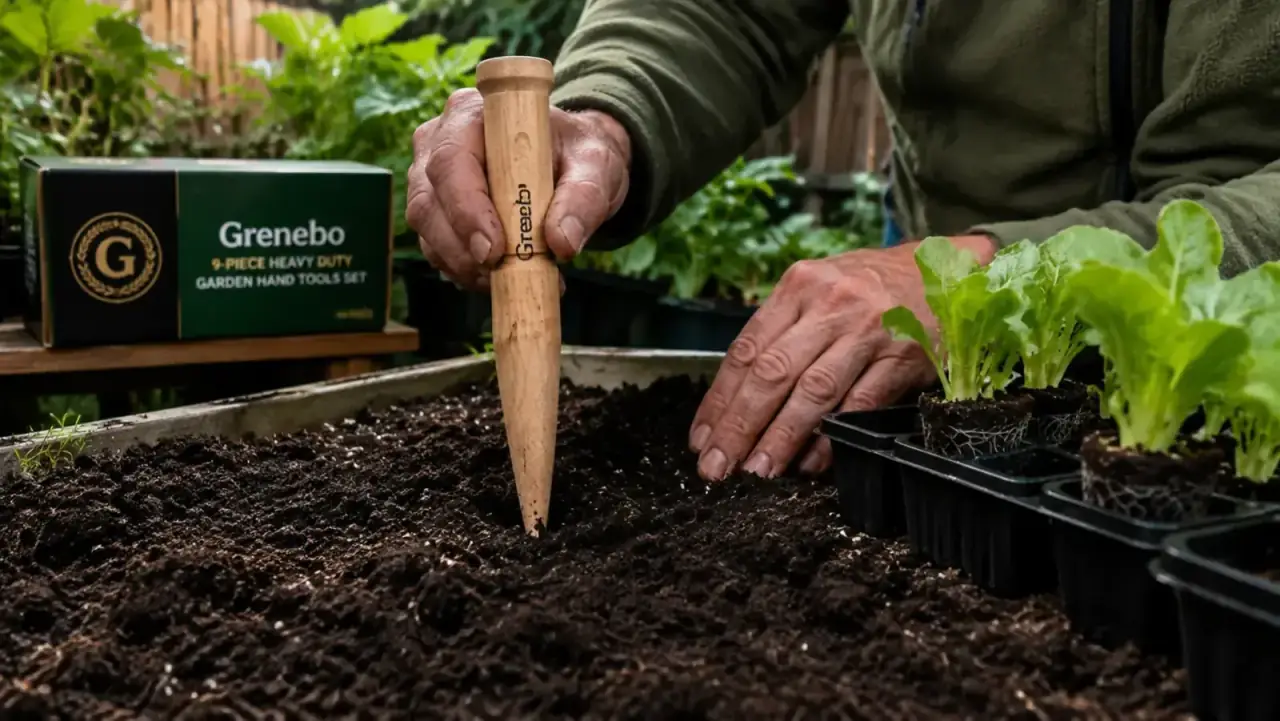
Step 4: Dig Transplant Holes With a Transplanter or Dibber
A transplanter is a narrow, pointed tool with depth markings on the blade. If your hand-tool set includes one, this is where it earns its slot. Use it to make planting holes for seedlings, plugs, and transplants at the exact depth the root ball needs. The depth marks on the blade take the guesswork out.
Work across the bed in your planned grid before you start placing plants. This lets you visualize spacing before any roots go in. For tomatoes I use 18-inch spacing in a 4x8 bed, which gives me eight plants in two rows of four. For lettuce or herbs I go much closer, sometimes six inches apart. Lay your transplants out on the frame edge in their planned positions before you dig. It takes a minute and prevents the frustrating moment where you realize your spacing is off halfway through.
For deeper-rooted plants like tomatoes or peppers, the transplanter blade may not be long enough on its own. Use the trowel to widen the hole and go a couple inches deeper, then switch back to the transplanter to refine the sides. The goal is a hole where the root ball fits without being bent or cramped at the bottom.
Step 5: Set Transplants, Firm Soil, and Water In
Lower each seedling into its hole, keeping the root ball intact. For most vegetables the top of the root ball should sit at or slightly below the soil surface. Tomatoes are an exception: you can bury them up to the first set of true leaves and they will root along the buried stem.
Once the plant is seated, press soil in around the root ball using your fingers, not a tool. You want firm contact between the roots and soil but no air pockets. If you feel a gap, fill it with a small pinch of soil and press again. Then use the end of the trowel handle or a small hand tamper to firm the soil surface in a ring around the plant base. This keeps the stem upright and reduces wilting on the first hot day.
Water each transplant immediately after setting. Use a gentle spray so you do not displace soil around the roots. The goal is to soak the root zone thoroughly and let the soil settle around the root ball naturally. I typically water each plant individually with a watering can rather than spraying the whole bed at once. This gives each root zone a proper soak without waterlogging the paths between plants.
Every bent trowel I have thrown out came from the same mistake: trying to force a cheap tool through soil it was not built for. The fix is not less force. It is a better tool.
What Else Helps
A hand weeder is worth having in the bed from the first day. Even freshly filled beds will sprout weed seeds that were in your compost or topsoil. Get them while they are small. The Grenebo set includes a hand weeder that works by pushing the forked tip under the taproot and levering it out cleanly. This is vastly better than pulling by hand, which usually breaks the root and leaves it to regrow.
A soil knife (also called a hori hori) is not included in most starter sets but is worth adding if you plan to do serious dividing or transplanting later in the season. It handles the jobs that fall between a trowel and a full shovel: slicing through root clumps, cutting sod edges, opening bulb holes in dense soil.
After planting, a light layer of mulch between rows and around plants keeps moisture in and weeds down. Two to three inches of straw or shredded wood works well in raised beds. Keep it pulled back a few inches from plant stems to prevent rot. Use the trowel edge to tuck mulch neatly around plant bases without piling it against the stem.
For the full picture on which tools from the Grenebo set I reach for most and which ones could be skipped, the long-term review covers a full season of raised-bed use: Grenebo Garden Tool Set Review: One Full Growing Season in Raised Beds. And if you are trying to decide between this set and the Fiskars hand tools at a similar price point, the comparison lays it out side by side: Grenebo vs Fiskars Hand Tools: A Direct Comparison.
Good hand tools make every step in this guide easier
The Grenebo 9-piece set covers the cultivator, trowel, transplanter, weeder, and more. It is the kit I use for exactly this process. Check today's price on Amazon and see if it is the right fit for your beds.
Amazon Check Today's Price on Amazon →